In the world of packaging, standing out is key. Whether you’re a small business looking to leave a lasting impression or an individual with a creative flair, custom die-cut Mylar bags offer a unique solution. In this comprehensive guide, we’ll take you through the process of creating your own custom die-cut Mylar bags, step by step. From understanding the basics to adding finishing touches, we’ve got you covered.
Introduction
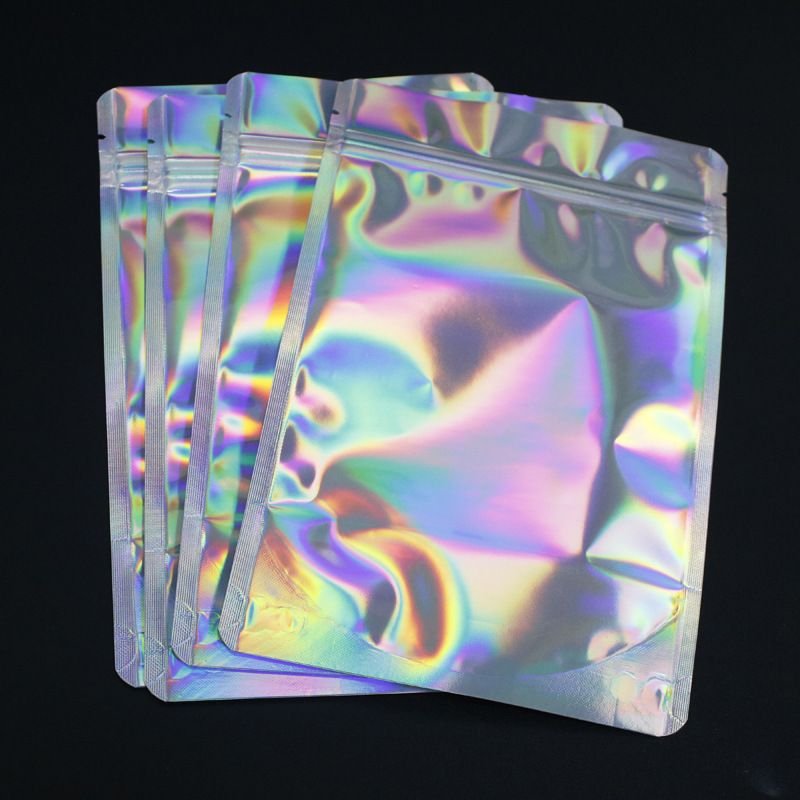
Let’s start with the basics. What exactly are die-cut Mylar bags, and why should you consider customizing them? Die-cut Mylar bags are pouches made from a durable polyester film called Mylar, known for its strength and barrier properties. These bags are versatile and can be customized into any shape or size, making them ideal for packaging a wide range of products.
Understanding Die Cut Mylar Bags
Before diving into the customization process, it’s essential to understand the material you’ll be working with. Mylar is a type of polyester film known for its high tensile strength and moisture resistance. It’s commonly used in packaging due to its ability to protect products from external elements such as light, moisture, and air.
Materials and Tools Needed
To get started with customizing your own die-cut Mylar bags, you’ll need a few essential materials and tools. First and foremost, you’ll need Mylar sheets, which are available in various thicknesses to suit your needs. Additionally, you’ll need cutting tools such as scissors or a craft knife, as well as design software if you plan to create intricate designs.
Designing Your Custom Mylar Bag
Once you have your materials and tools ready, it’s time to unleash your creativity and design your custom Mylar bag. Whether you’re creating a simple logo or a complex pattern, sketching out your ideas beforehand can help bring your vision to life. If you’re not confident in your drawing skills, don’t worry there are plenty of design software options available that can help you create professional-looking designs with ease.
Choosing the Right Mylar Thickness
When selecting Mylar sheets for your custom bags, it’s essential to consider the thickness of the material. Thicker Mylar sheets offer increased durability and protection, making them ideal for heavier or more fragile items. However, thinner Mylar sheets are more flexible and lightweight, making them suitable for smaller or less delicate products.
Cutting Process
Once you have your design finalized, it’s time to bring it to life by cutting out your custom Mylar bags. This step requires precision and attention to detail, as any mistakes could result in poorly shaped or uneven bags. Using templates can help ensure consistency across multiple bags, while precision cutting techniques can help achieve clean, professional-looking edges.
Sealing the Bags
After cutting out your custom Mylar bags, the next step is to seal them to ensure the contents remain secure and protected. There are several sealing methods available, including heat sealing and adhesive sealing. Heat sealing involves using a heat source to melt the edges of the bags together, creating a tight seal that prevents moisture and air from entering. Adhesive sealing, on the other hand, involves applying adhesive tape or glue to the edges of the bags and pressing them together to create a bond.
Adding Finishing Touches
Once your bags are sealed, it’s time to add the finishing touches that will set them apart from the rest. This could include labeling and branding your bags with your logo or product information, as well as incorporating additional features such as zipper locks or tear notches for easy opening. These finishing touches not only enhance the visual appeal of your bags but also add functionality and convenience for your customers.
Quality Control and Testing
Before distributing your custom Mylar bags to customers, it’s essential to conduct thorough quality control and testing to ensure they meet your standards. This involves inspecting the bags for any defects or imperfections, as well as testing their seal integrity to ensure they will effectively protect the contents. Additionally, it’s essential to ensure that your bags are compatible with the products they will be packaging to prevent any issues down the line.
Packaging and Distribution
Once your custom Mylar bags have passed quality control and testing, it’s time to package them up and get them ready for distribution. Proper packaging practices are crucial to ensure your bags arrive safely and intact, whether you’re shipping them to customers or stocking them on store shelves. Additionally, it’s essential to consider the logistics of distribution, including shipping costs and delivery times, to ensure a smooth and efficient process.
Troubleshooting Common Issues
Despite your best efforts, you may encounter some common issues during the custom Mylar bag creation process. These could include sealing problems, design flaws, or material defects. Fortunately, many of these issues can be easily resolved with some troubleshooting and problem-solving skills. By identifying the root cause of the issue and taking appropriate corrective action, you can ensure that your custom Mylar bags meet the highest standards of quality and craftsmanship.
Conclusion
In conclusion, customizing your own die-cut Mylar bags is a rewarding and creative process that allows you to showcase your unique style and brand identity. By following the steps outlined in this guide, you can create custom Mylar bags that not only protect and preserve your products but also leave a lasting impression on your customers. So what are you waiting for? It’s time to unleash your creativity and start crafting custom Mylar bags that are as unique as your brand.